In the garment manufacturing process, the cutting room plays an important role in transforming fabric into individual garment components ready for assembly. Understanding the flowchart of the cutting room management is essential for optimizing efficiency and ensuring quality outcomes.

In this article, we delve into each step of the cutting room process, providing practical examples to illustrate the workflow.
Table of Contents
Cutting Room Management Flowchart
Received cutting plan, production pattern & markets based on work order marker plan
⬇️
⬇️
Fabric received from the store
⬇️
Fabric Checking
⬇️
Fabric Relaxation (for knit fabric)
⬇️
Fabric Spreading
⬇️
Marker placed on the top to lay
⬇️
Cutting the Fabric
⬇️
Ply Numbering
⬇️
Checking
⬇️
Sorting and Bundling
Received Cutting Plan, Production Pattern & Markets Based on Work Order Marker Plan:
The cutting room process begins with receiving the cutting plan, production patterns, and marker plans based on the work order. For instance, if a clothing manufacturer receives an order for a thousand shirts, the cutting plan will outline the required sizes, quantities, and specifications based on the production patterns and marker plans.
Cutting Ratio:
Determining the cutting ratio is crucial for optimizing fabric utilization and minimizing wastage. For example, if a garment requires multiple components to be cut from a single piece of fabric, calculating the cutting ratio ensures efficient use of materials and cost-effectiveness.
Fabric Received from the Store:
Once the cutting plan is finalized, the required fabric is retrieved from the store and brought to the cutting room. This could involve coordinating with the warehouse staff to ensure timely delivery of the specified fabric types and quantities.

Fabric Checking:
Before proceeding with cutting, the fabric undergoes a thorough inspection to detect any defects or flaws that may affect the quality of the finished garments. This involves visually examining the fabric for issues such as stains, tears, or irregularities in texture.

Fabric Relaxation (for Knit Fabric):
For knit fabrics, a relaxation period may be necessary to allow the fabric to settle and regain its natural shape. This helps to prevent distortion or stretching during the cutting process, ensuring accurate and consistent results.

Fabric Spreading:
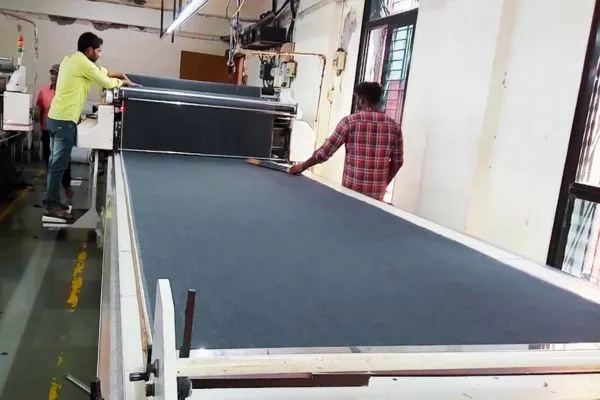
The fabric is then spread out on cutting tables in multiple layers according to the marker plan. This step involves careful positioning and alignment of the fabric layers to maximize efficiency and minimize cutting time.

Marker Placing on the Top to Lay:
Once the fabric is spread out, the marker, which contains the outlines of the garment components, is placed on top. This serves as a guide for the cutting process, ensuring that the fabric is cut accurately and according to the required dimensions.

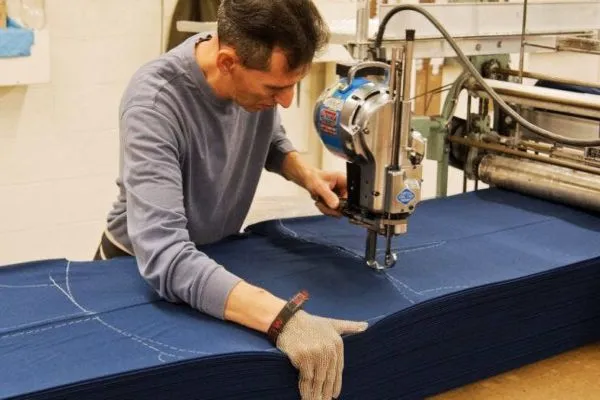
Using cutting machines or tools, the fabric is cut along the outlines of the marker to create individual garment components. This step requires precision and attention to detail to ensure consistency and accuracy across all pieces.

Ply Numbering:
After cutting, each layer of fabric is numbered or labeled to facilitate tracking and organization during subsequent processing stages. This helps to prevent mix-ups and ensure that the correct components are used for each garment.
Checking:
Quality checks are conducted throughout the cutting process to verify the accuracy of the cuts and identify any deviations from the specifications. This involves inspecting the cut components for dimensions, shape, and alignment.
Sorting & Bundling:
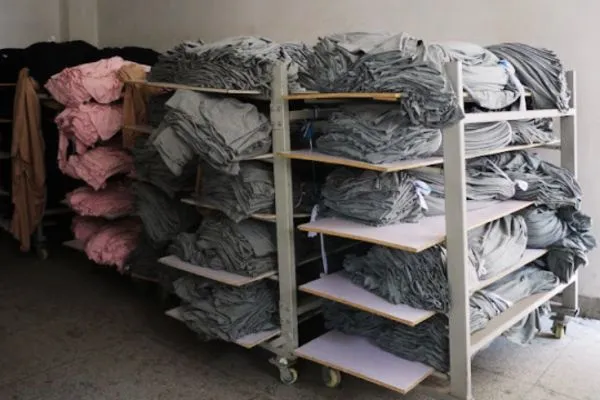
Once all the components are cut, they are sorted and bundled according to size, style, or other relevant criteria. This facilitates the subsequent assembly process by ensuring that the components are readily available and organized for efficient handling.
Next Sequence:
Send the sewing to the department
- Planning
- Marker
- Spreads
- Production
Spreading
- Manual
- M/c
Cutting
- M/c
- Computer
Preparation for sewing
- Shade Marking
- Ticketing
- Bundle
Conclusion:
The cutting room management flowchart provides a structured framework for efficiently transforming fabric into garment components. By following each step of the process and incorporating best practices, manufacturers can optimize productivity, minimize waste, and deliver high-quality products to meet customer demands. Whether you’re involved in cutting room operations or overseeing the production process, mastering the cutting room flowchart is essential for success in the garment manufacturing industry.
