Ever wondered how clothing manufacturers ensure that that adorable new shirt you just bought won’t shrink dramatically after the first wash? The secret lies in a nifty device called a shrinkage rate tester. But how exactly does this machine work its magic?

Table of Contents
SOP of Shrinkage Rate Tester Machine (Washing and Drying Chamber Machines)
Now, let’s explore the standard operating procedure involved in using a washing and drying chamber shrinkage rate tester machine:
- Powering Up and Initial Settings: Turn on the machine and familiarize yourself with the control panel. Set the desired language and any pre-programmed settings.
- Loading the Sample and Detergent: Place the marked fabric sample into the designated chamber. Add the appropriate amount of detergent according to the test standard or manufacturer’s instructions.
- Selecting the Wash Cycle: Choose a wash cycle that replicates the intended washing conditions for the fabric, such as water temperature, agitation intensity, and cycle duration.
- Running the Wash Cycle: Once everything is set, initiate the wash cycle and monitor the machine’s operation.
- Drying the Fabric Sample (Optional): Some machines have integrated dryers. If not, follow the test standard or manufacturer’s instructions for drying.
- Drying the Fabric Sample (Optional): Some machines have integrated dryers. If not, follow the test standard or manufacturer’s instructions for drying the fabric sample outside the machine using a line dryer or a controlled temperature drying cabinet.
- Cooling Down and Sample Removal: Allow the machine and the fabric sample to cool down completely before opening the chamber door. This prevents inaccurate measurements due to residual heat. Carefully remove the fabric sample for post-wash measurements.

Operating the Shrinkage Rate Tester Machine (Non-Contact Measurement Systems)
Non-contact measurement systems offer a faster and more streamlined testing process:
- System Setup and Calibration: Ensure the system is powered on and properly calibrated according to the manufacturer’s instructions. Calibration ensures accurate measurements.
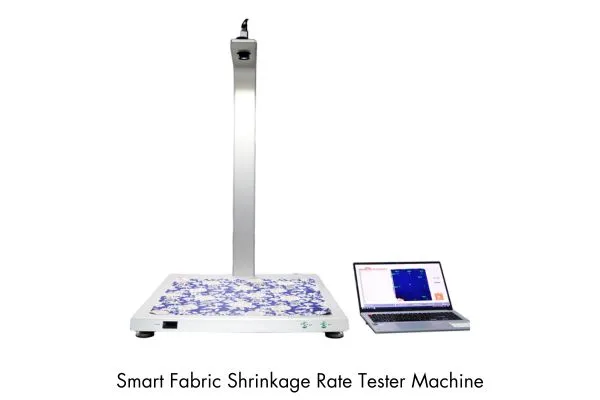
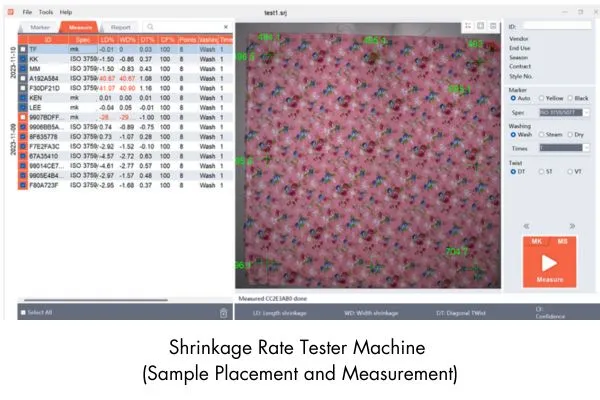
- Sample Placement and Measurement: Place the marked fabric sample on the designated platform or within the scanning area of the system. Initiate the measurement process, which may involve automated image capture and analysis by the system software.

Calculating Shrinkage Rate
After completing the wash and dry cycle (or measurement with a non-contact system), it’s time to determine the shrinkage rate:
- Post-Test Conditioning: Similar to pre-wash conditioning, some test standards require the fabric sample to rest at a specific temperature and humidity level before taking final measurements.
- Taking Final Measurements: Using a ruler or specialized measuring tools, carefully measure the distances between the pre-marked reference points on the fabric sample.
- Shrinkage Rate Formula: The shrinkage rate is typically expressed as a percentage. Use the following formula to calculate the shrinkage rate:
Shrinkage Rate (%) = [(Initial Measurement – Final Measurement) / Initial Measurement] x 100
Example: If the initial length of the fabric sample was 20 cm and the final length after washing and drying was 18 cm, the shrinkage rate would be:
Shrinkage Rate (%) = [(20 cm – 18 cm) / 20 cm] x 100 = 10%
Safety Precautions When Using a Shrinkage Rate Tester Machine
Always prioritize safety when operating any machinery:
- Read the Manual
- Use Appropriate Personal Protective Equipment (PPE)
- Never Open the Chamber Door During a Cycle
- Maintain a Clean and Safe Work Environment
