You don’t have to figure out the all-in-all process to draw realistic fashion model sketches. The given steps about how to draw fashion design sketches enlighten you!
Table of Contents
Before we go to the step-by-step guide to draw sketches, let us gather information on the required materials.
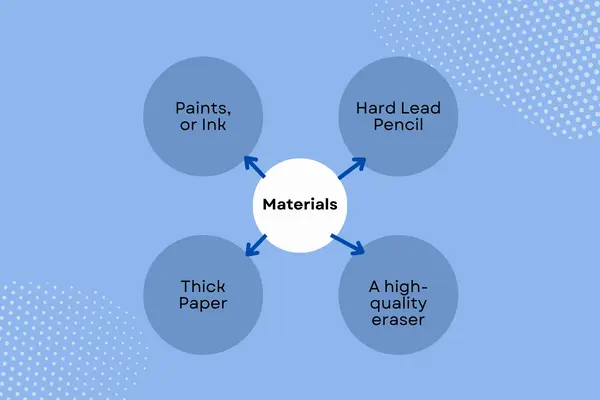
To start drawing fashion design sketches, it is important to gather the necessary materials that suit to be long-lasting. That is why the following materials are important for sketching. For instance:
Steps of Draw Fashion Design Sketches:
Step 01: Drawing the Balance Line for Fashion Croquis:
Fashion croquis is like the skeleton of the model. For your fashion sketch, this is the first line. A balanced line that represents your model’s center. Draw the line free hand from the top of the head (an Oval Shape) to the tip of the toes. Add the backbone of the fashion croquis.
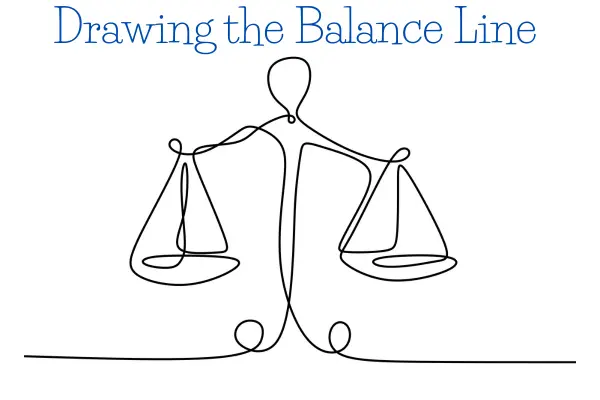
The head is the base of your croquis. Based on it, a proportional drawing is represented.
Pro-Tips:
The balance line is the straight vertical line, no matter in which pose, your fashion model is on.
A proportional model is not a requirement when you are only designing your clothes. Because, in that case, only the cloth is for showcasing, not the drawing skills of the figure.
Step 02: Drawing the Pelvic Area of the Skeleton:
A square with equal-side lengths is what you are going to draw here. It remains on the balance line, a bit below the middle range.
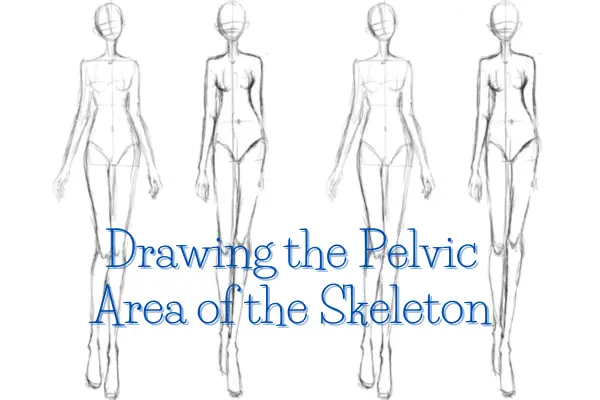
The square size depends on how wide you want your model to look. It means a thinner model refers to a smaller square. Moreover, in drawing the pelvic square, keep your desired pose of the model in mind.
Step 03: Drawing the Torso and the Shoulders:
In this step, extend the torso line upward, in the waist’s midway, from the two corners of the pelvic size of the square.
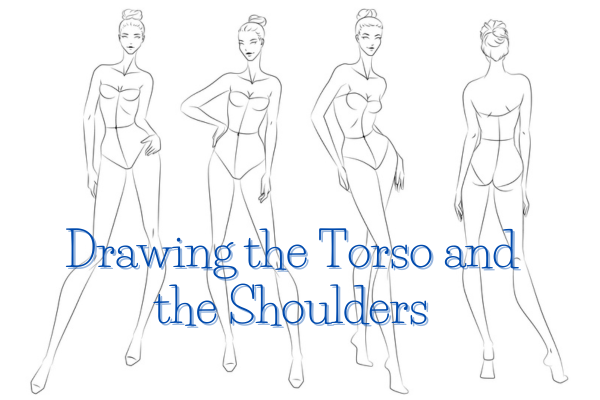
Keep the shoulder in the same width as the hips and the pelvic box’s top position.
Step 04: Sketching the Neck and The Head:
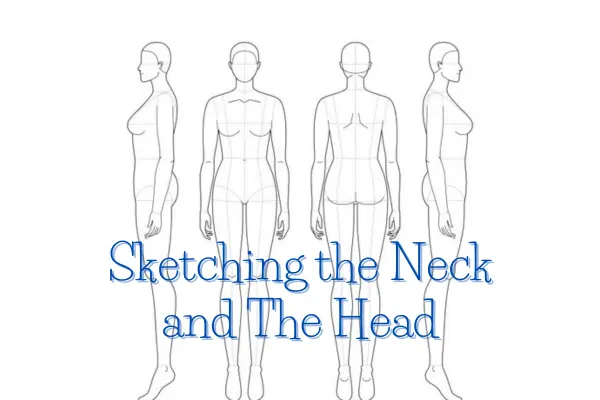
Keep the neck in 3rd of the shoulder width and ½ of the length ahead. After that, sketch the head in proportion to the body.
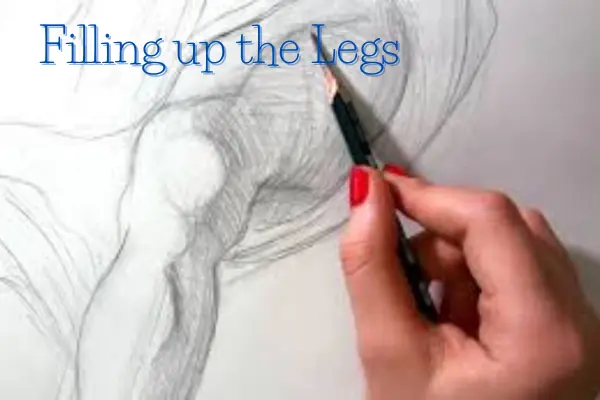
Skep 05: Filling up the Legs:
The legs should be the longest length, at least equal to 4 heads. Keep the legs positioned into 2 pieces: The Thighs and the Calves.
Pro-Tips:
The top of each thigh must be the same width. In drawing the knee, you keep the leg in 1/3 of the bigger thigh portion. The ankle must be ¼ of the width of the head.
The Step-by-Step Process to Draw Clothes and Accessories
Step 06: Create the original design and illustrate it in detail:
Before sketching, you may have assumed how you want to have your design look. In designing a costume, try to add patterns, bows, and each accessory attached to the dress to contribute to a beautiful piece making.
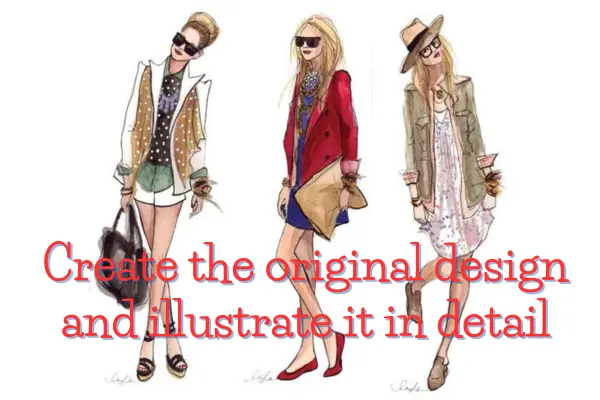
Keep the elements unique and appropriate. Therefore, you can understand these details later.
Step 07: Bold your Sketches while Showcasing Clothes:
While drawing the clothing, use the sketches in a bold way to showcase the clothing ideas. Sketch the clothes boldly so that the croquis looks realistic.
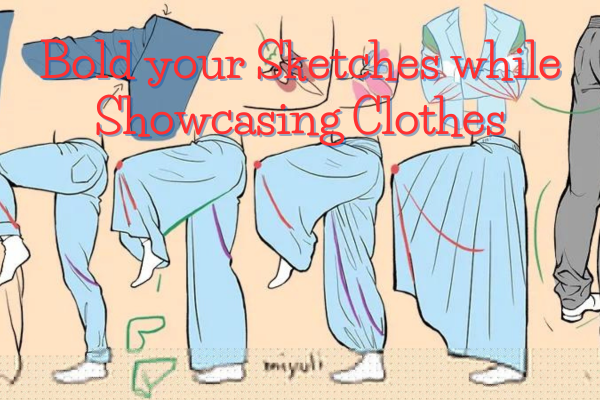
You may add creases around the waist or elbows to replicate the model.
Pro-Tips:
- Be careful about different fabrics.
- Try to illustrate the fabric texture while drawing.
- Adds lines, wrinkles, and pleats. Drawing folds using loose and wavy lines illustrate the garment structure.
Step 8: Showcase Patterns and Prints:
In the case of patterned fabric, accurately illustrate how those patterns look on a model.
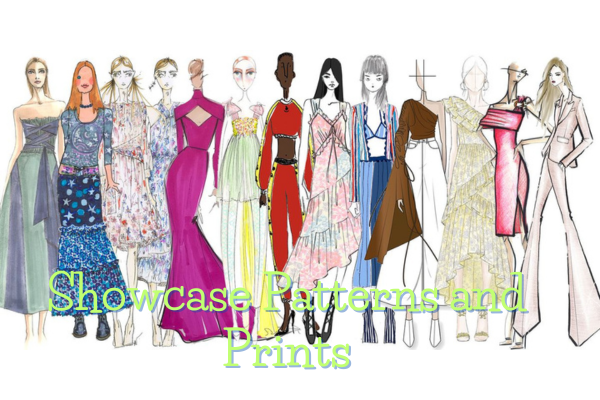
Outline the pattern of a skirt or blouse or divide them into a grid.
Step 9: Add Shades, Ink, Color:
In this stage, you must finalize the paint on the lines, whether they should remain or not. You can even erase the body lines at this step.
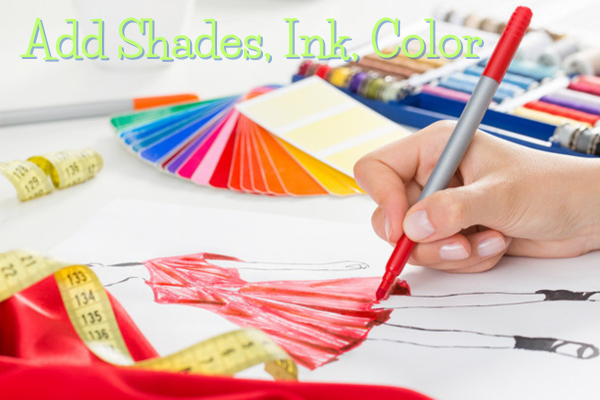
Adding features like hair and sunglasses are the final touch to bring the sketch to life.
Pro-Tips:
In addition to creating a flat schematic, people will view the design in a flat version of exactly how the look gets modeled on a body. A black view of the flat brings more unique details.
Step 10: Refine and finalize:
Review your drawing and make any necessary adjustments or corrections. Erase any unnecessary guidelines or stray marks.
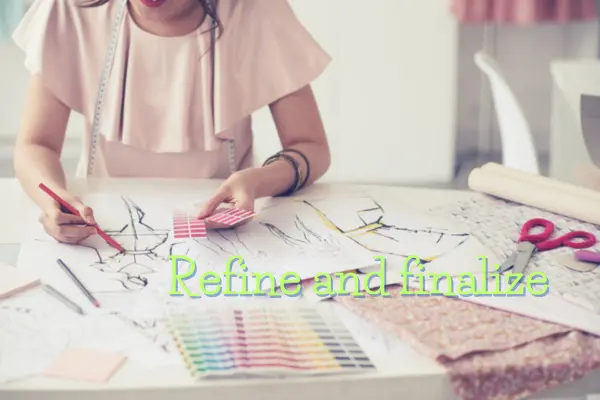
Once you’re happy with the overall composition, you can further enhance your croquis with shading, colors, or other artistic techniques.
Fashion Design Sketches for Beginners
For beginners, it is always easy to draw fashion design sketches with less complexity. For instance, you may avoid adding many details to the model’s face. If you have specific makeup details in your mind, you may add them. But for the first-time sketching, it is not necessary. Draw your model realistically so that it becomes easier for you later to select garments and the outfit to sew. Meanwhile, your focus as a fashion designer should be on the outfit only, nothing else on!
Materials Needed for Fashion Design Sketches:
1. Hard Lead Pencil (The ‘H’ Pencils are suitable):
It also makes the stretchy markers easier to erase. With these pencils, marks do not easily indent the paper and you can add color to the image as you want.
If you cannot gather the right type of pencil, you can get several 2. In that case, making light marks is better.
2. A high-quality eraser.
3. Thick Paper.
4. Colored Markets, Paints, or Ink for fashion design illustration.
Fashion Croquis: A Concept
A fashion croquis refers to a sketch of a human body or the 9-head figure content. It serves as a template to sketch on for designers. In that case, you create your fashion croquis, a template, using any body type as a reference. You can even download any picture or body shape. Downloading a Croquis picture provides you with a different range of shapes and sizes to select a child, a man, a woman, or tall, or petite individuals.
Selecting a Post that Shows off the Fashion Design Best
It is always better to design your croquis in different poses- walking, bending, or sitting for the position. A common pose is a model standing on a runway. In that case, a croquis must be in a well-proportioned and well-drawn sketc
Conclusion
By practicing for a week, you will feel more confident about sketching fashion design by yourself. Every fashion designer starts from scratch by tracing out the outlines of printed simple designs. Always start with simple sketches. With more exploring, you will get to know exactly when the use of different pencils and colors works!

